The Internet is one of the essential parts of human life as of today around the globe. And Blogging is one of the most exciting and fun things to do on the Internet today.
It provides you with an opportunity to share your thoughts, skills, and knowledge with millions of people surfing the Internet every day. You can even use Blogging to promote your business, brands, or also expand your network.
Most of the people think that they need technical knowledge and learn to code to do Blogging. However, it does not hold as of 2020.
You can create a blog with WordPress without prior coding knowledge or experience. Moreover, you don’t need to be tech-savvy to create and publish your Blog.
With WordPress, you can start a blog of your interest at a cheaper price and even can monetize the Blog to generate revenue out of it. Trust me, the amount you will pay to create and publish your Blog would be less than $100.
[wps_toc style=”default” title=”Table of Contents” heading_levels=”2,3″ show_heirarchy=”no” bullet_spacing=”no” ordered_list=”no”]
If you are new to Blogging and want to set up your Blog yourself, this article is going to be a savior for you. You can set up your Blog without much hassle follow this detailed guide!
You don’t need to spend days or weeks to create a successful blog. You might be surprised that you can create a fantastic looking WordPress blog within 2-3 hours following this guide.
So if you are ready to create and start publishing your Blog, please go through this article until the end of the Start!
What Topic Should you Select for your WordPress Blog?
The first stage of Blogging is your passion for writing. Before you select any specific niche for Blogging, you should ask yourself whether you enjoy or love writing or not?
If you are passionate about writing or sharing your thoughts, Blogging is the best way to share your skill, knowledge, and ideas.
The next step is to select the niche of your Blog. Before you decide the niche of your Blog, think what the Topic that you are always interested in and excited about is.
The best niche will be the one in which you are always curious to learn yourself as it will give you an option to share your thoughts and views on the Topic.
How to make your WordPress Blog stand out?
Let’s say you have selected your niche for your upcoming Blog. But there are thousands of blogs on the same niche and Topic, so how to make your Blog stand out of the Crowd!
Let’s say you have decided to set up your Blog on “Yoga and Meditation,” however, it is a general topic and covers a wide range of sub-topics.
What you can do is select a specific Yoga and start a micro-niche blog. It will help you create a monopoly for your Blog. With the narrow Topic, you can explain more and have detailed information about the same, making it more concise.
More people are attracted to the micro-niche Blog, and even it ranks well in the search engines.
Should you go with Free Blogging Platform?
It depends on your choice whether to go with Free Blogging Platform or a paid one. However, both have their pros and cons.
The Free Blogging platform like Blogspot, WordPress.com, Tumblr, and others provides you the option to create and publish your Blog, but there are many limitations associated with them.
With a paid platform, you can customize your Blog as per your wish and desire. You own the Blog and can do various customization and changes at any time.
Can I Monetize my Blog?
Yes, you can monetize your Blog with various Ad Networks and even use it for affiliate marketing. There are thousands of people who are doing Blogging as their full-time job and generate a decent income from Blogging.
However, the amount of revenue you can generate from your Blog depends on your niche. Google Adsense and Amazon Affiliate Marketing are the pioneers when it comes to making money online through Blogging.
Is WordPress.org an excellent way to start your Blog?
Yes, WordPress.org is a great way to start your Blog. WordPress is the most popular content management system that powers more than 30% of the websites.
The best part about WordPress is that it is community supported, and you don’t need to pay any charge to use WordPress. Furthermore, there are thousands of themes and plugins available on WordPress.org, which helps you customize your Blog and give it a unique and impressive look.
So, if you are ready, here are the few steps you need to follow to create an excellent looking self-hosted WordPress Blog!
- Purchase a Domain Name
- Purchase a Web Hosting Account
- Install WordPress
- Install a suitable WordPress Theme
- Install Some recommended Plugins
- Start Writing your Content
So I recommend you grab a cup of hot coffee before you proceed with the given steps!
1. Purchase a Domain Name
The first and most crucial step for creating your self-hosted Blog is to get a domain name for your Blog. A domain name is the address of your Blog on the Internet.
You can purchase a domain name of your choice to start your Blog. However, it is recommended that the domain name should be matching to the niche of your Blog so that people will easily remember.
Also, make sure your domain name is catchy and easy to remember. Do not include numbers and symbols if the domain name of your choice is not available. The most common Top Level Domain Extension is .com. However, there are tons of other TLDs such as .net, .info, .biz.
If you do not find the domain name of your choice in .com, you can always opt-in for other TLDs. Google does not discriminate your Blog because of its extension.
Though there are multiple domain name providers in the market, I recommend you to purchase the domain name from NameSilo.
Benefits of purchasing Domain Name from NameSilo:
- Price Lock Guarantee on Renewals
- Free forever Whois Privacy
- Free Email Forwarding
- Quick and Easy DNS Management
2. Purchase a Web Hosting
If Domain Name is the address of your WordPress Blog on the Internet, Web Hosting is the space or location where your website is stored.
There are tons of web hosting providers available from which you can purchase a web space for your WordPress blog. However, the price of the web hosting varies from $1 to $100 a month, depending on their features, storage, and bandwidth they provide.
As a beginner, I would recommend you go with the Shared Web Hosting Plan as they are cheap and good enough for starters. You can upgrade the web hosting plan with an increase in traffic on your Blog.
With the availability of multiple web hosting companies, you might be confused about which one to go with, as everyone claims to be best and reliable.
We recommend you to go with Siteground web hosting for your Blog. There are various benefits of Siteground when it comes to web hosting.
Here are some reasons to choose Siteground over other web hosting platforms:
- Siteground offers you value for money.
- You get a free domain name with Siteground web hosting plan.
- WordPress officially recommends it. Hence, you can be assured of its compatibility with WordPress.
- Siteground has excellent Customer Service Support, and their team is ready to assist 24/7.
- You get a free SSL Certificate for every Domain.
- The best part about Siteground is that they use SSD Servers, which are fast.
Siteground offers you 3 different web hosting plans for shared web hosting
3. Install WordPress
Once you have connected domain name with web hosting, the next step is to install WordPress.
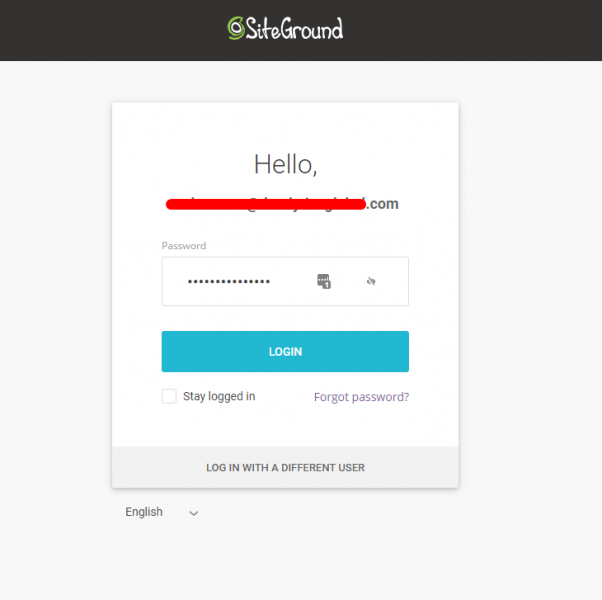
To install WordPress on your website, you need to log in to your SiteGroudn account.
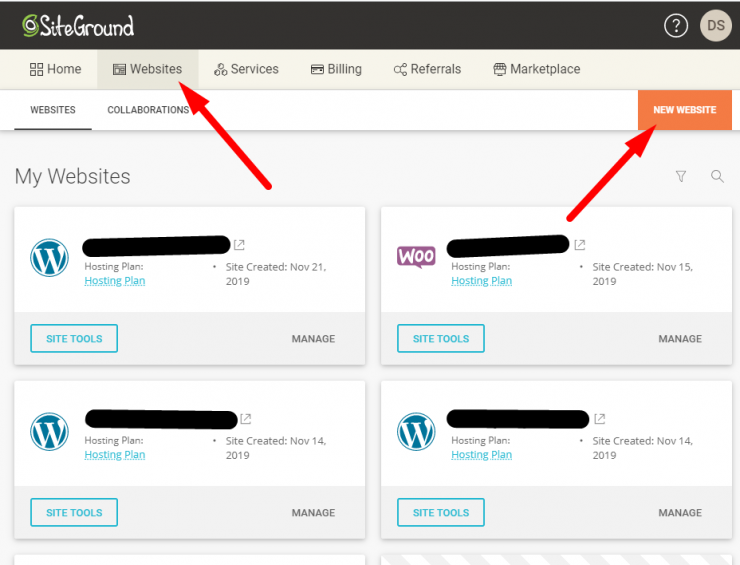
Go to Websites & Click on New Website.
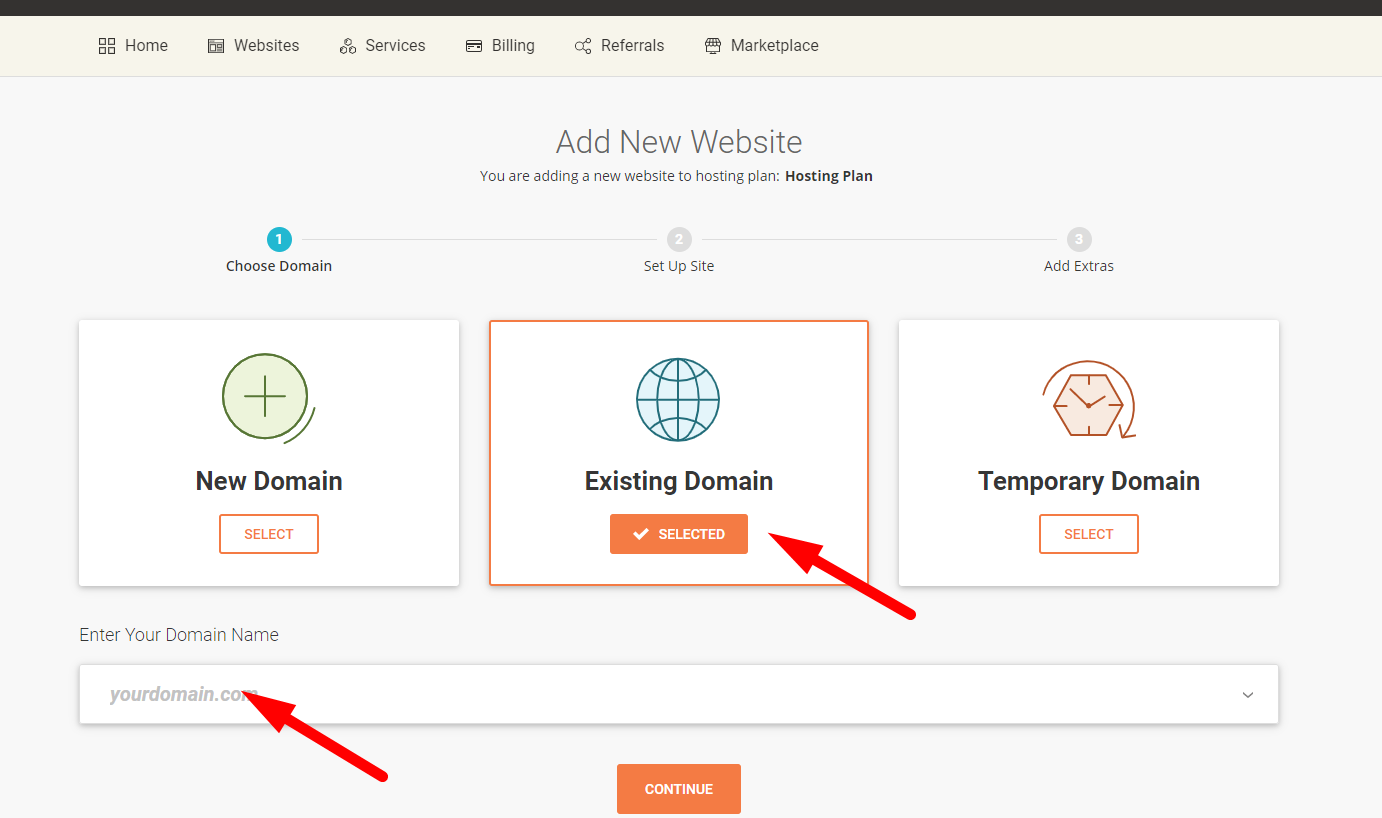
Select the Existing Domain and Enter the Domain Name.
Click on Start New Website & Select WordPress.
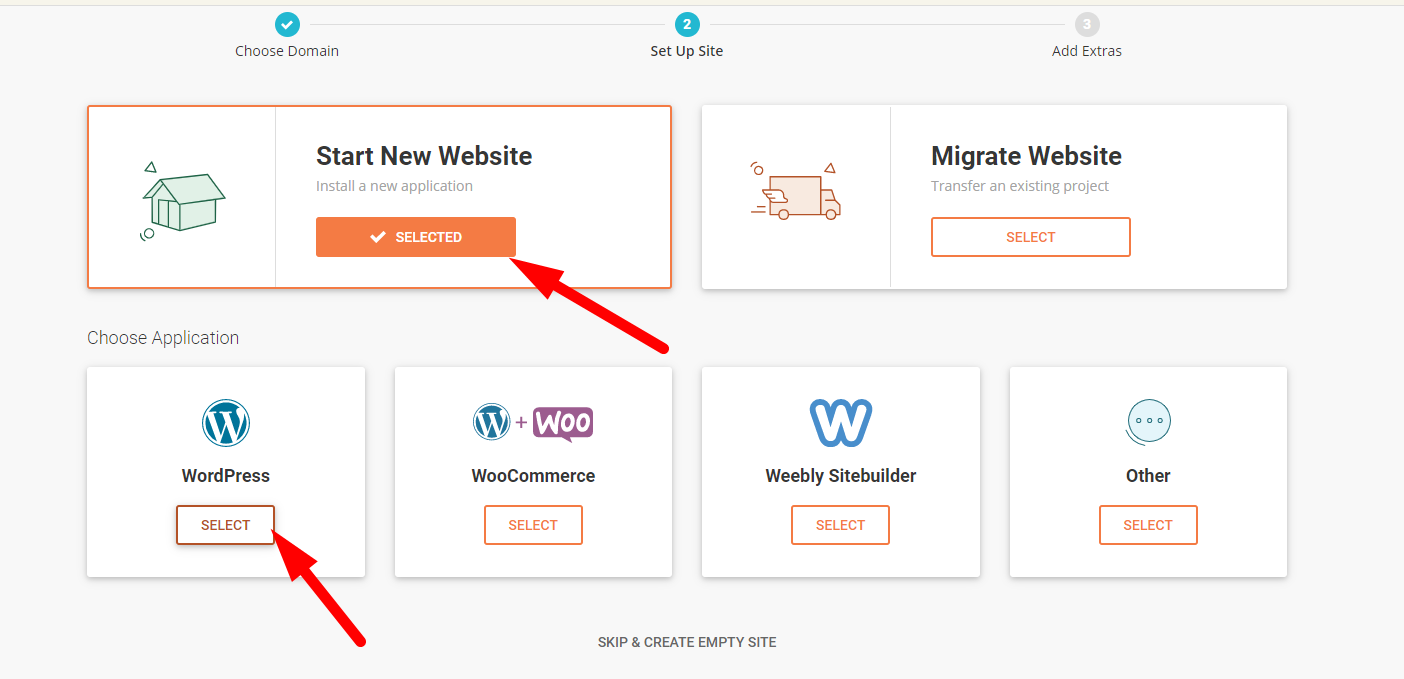
Enter the Admin Email Address & Password. Click on Create.
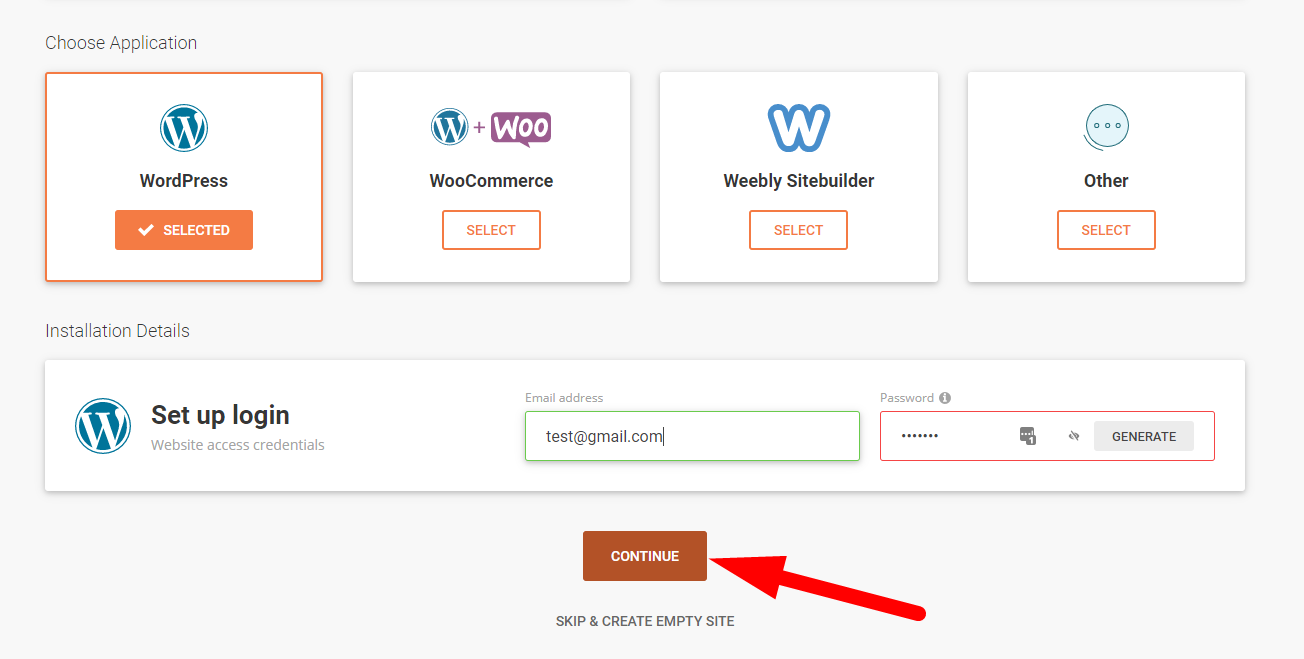
You will see that WordPress is installed on your Domain within a few seconds.
Once WordPress is installed, you can log in to the WordPress Dashboard and customize your WordPress blog.
4. Install Suitable WordPress Theme
To install a suitable WordPress theme on your blog, you need to log in to your WordPress dashboard.
You can log in to your WordPress dashboard by going to www.yourdomain.com/wp-admin.
Once you are logged in, go to Appearance > Appearance > Themes.

Click on Add New and Select a Suitable Theme for your Blog.
Click on Upload Theme and Choose File.
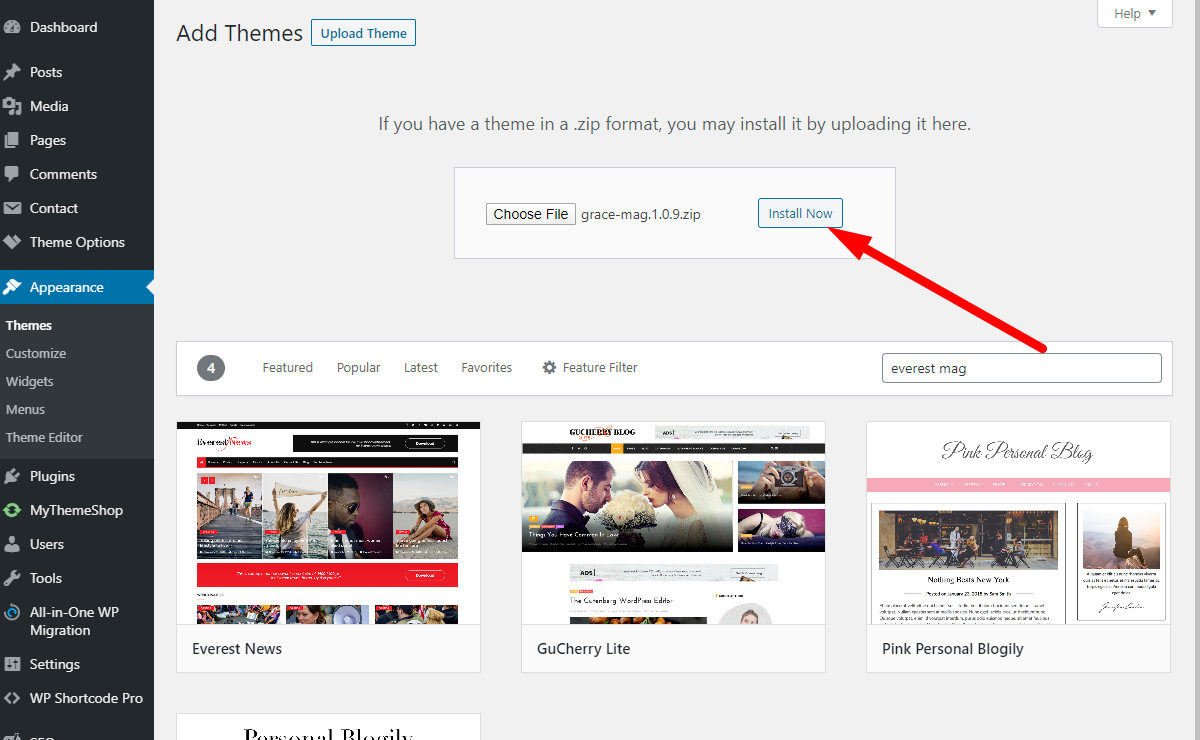
Click on Install Now.
Once the theme is installed, click on Activate to activate the theme on your website.
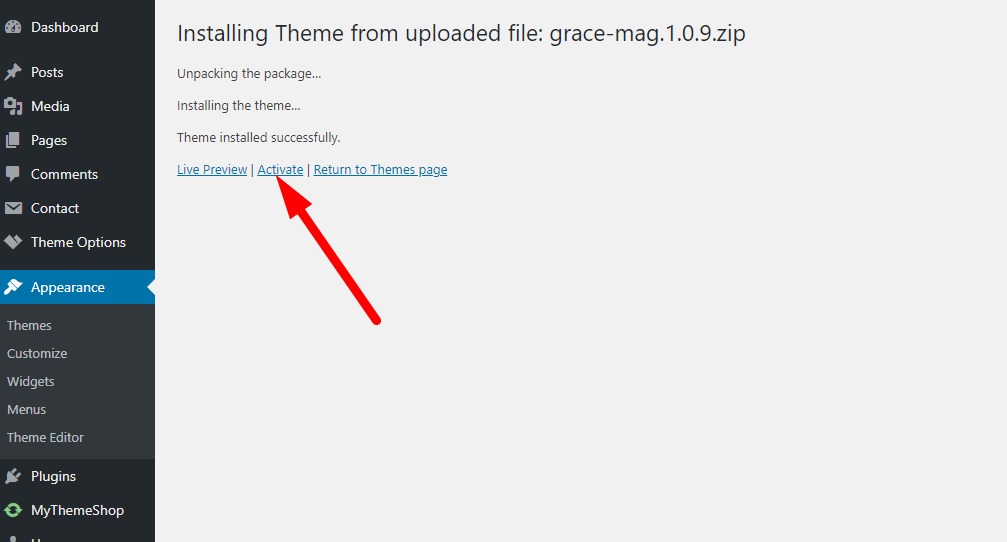
Once you have installed and activated your favorite theme, you can customize the theme to get the desired layout of your Blog.
If you are confused about which theme to choose for your Blog, here are some excellent recommendations:
5. Install Some Recommended Plugins
Plugins are WordPress addons that help you to customize and add features to your Blog.
You can do plenty of things using WordPress plugins such as Performing On-Page SEO, Create website backup, create XML Sitemap, and add unique features to your Blog.
Here are some recommended plugins which you can add to your Blog to make it awesome and get more out of it.
- Akismet
- Yoast SEO
- Google XML Sitemaps
- Jetpack
- BackUpWordPress
- W3 Total Cache
- Social Media and Share Icons (Ultimate Social Media)
How to Install WordPress Plugins?
Please follow the below steps to install WordPress plugins to your WordPress website.
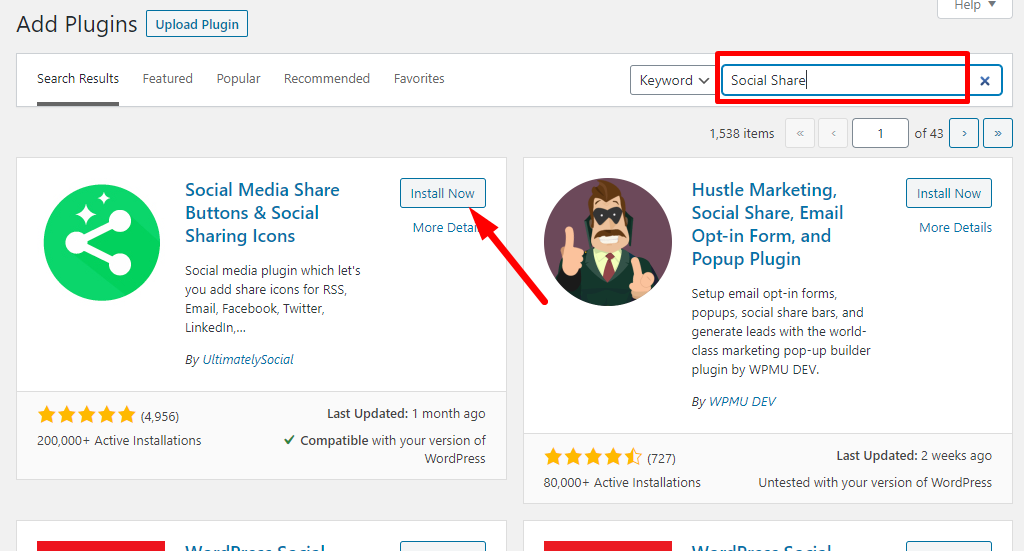
- Go to Plugins > Add New.
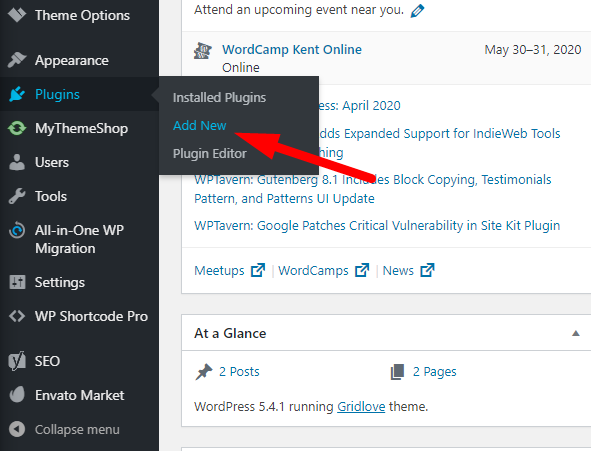
- Enter the name of the plugin in Search Box and click on Install
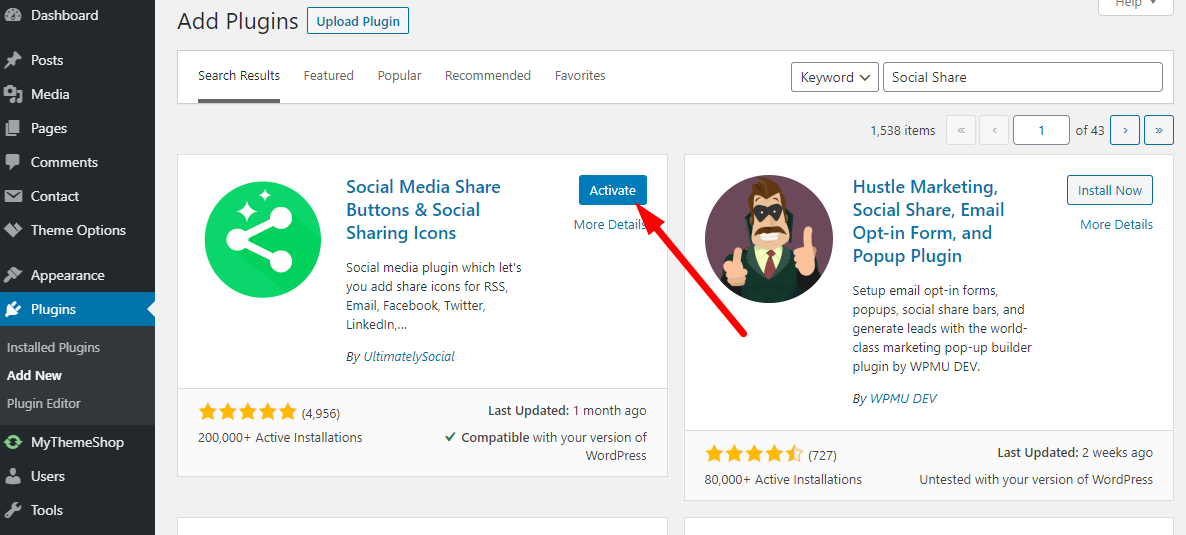
- Once the plugin is installed, click on Activate to activate the plugin.
6. Start Writing Content
Well, once you have installed the WordPress theme and customized it, the final thing to do is start writing content on your Blog.
With proper optimization of your WordPress blog for Search Engine Optimization, you could reach millions of people with your Blog.
I hope you loved this small article regarding setting up of WordPress blog and customizing it.
Enjoy Writing!